

How To Create Your Own Nail Stickers
This post may contain affiliate links, which means we may receive a commission if you purchase through our links. Please read our full disclosure here.
This week, instead of showing you a specific design, I thought I'd cover the basics of making your own nail decals, or nail stickers. You can easily do this with a sandwich bag, or any thick (but flexible) plastic you have lying around!
This method makes it easier to replicate patterns or pictures on your nails, since you don't have to do it on your actual nail. It gives you more freedom to work around whatever design you choose to replicate, whether it be cute characters or just a simple pattern that you can eventually peel off and adhere to your nail.
For the tutorial, I stuck to simple basics, but if you're more adventurous you could try making DIY nailstrips as well, or some fancier characters, as they utilize the same concept. Also, removing any design is a breeze since it's all nail polish!
Scroll on down to learn step-by-step how to create your own unique nail art decals:
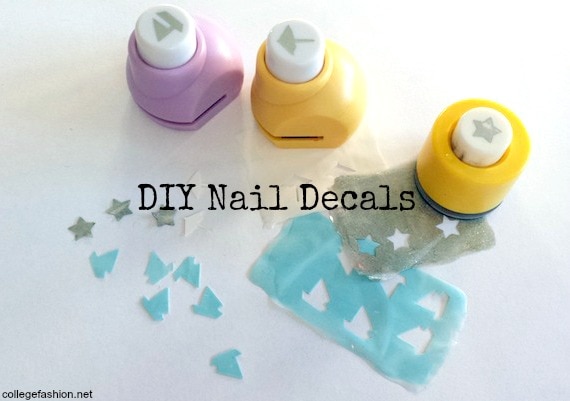
What You'll Need:
- Nail polish of your choice – I used Nicole by OPI's Selena, China Glaze's White on White, Sally Hansen's Breeze Blue and Celeb City
- A sandwich bag, or any sort of flexible, clear plastic – I chose to use a small snack Ziploc bag, but make sure there are no creases or folds where you paint your polish on.
- Tweezers
- Clear nail polish or a top coat
- Mini shaped hole punches
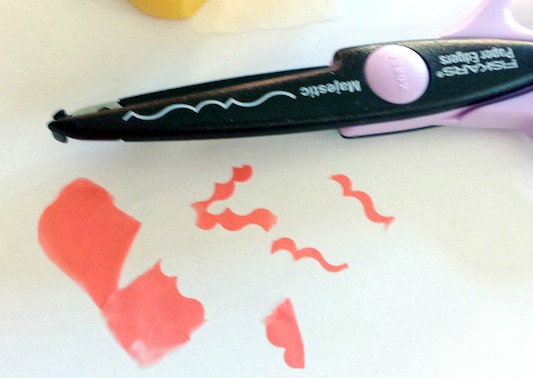
- Decorative scissors
Step 1:
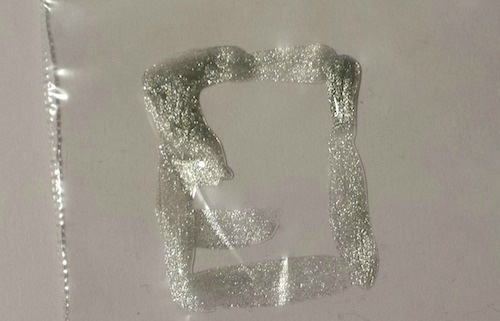
Paint a square of polish on the plastic, as large as you like, for the outline. Fill in the outline, making sure there aren't any gaps. Remember that the thicker the polish, the easier it will be for you to peel.
Wait a few hours for it to dry – I went back and held it up against the light to check if there were any sheer spots – if there were, I painted another layer on. I did this with a few different polishes to test the opacity; the sheer blue and pink colors needed a second coat, while the white and silver were opaque enough to suffice with just one coat.
I recommend waiting a few hours before working with the polish. (I let mine dry overnight.)
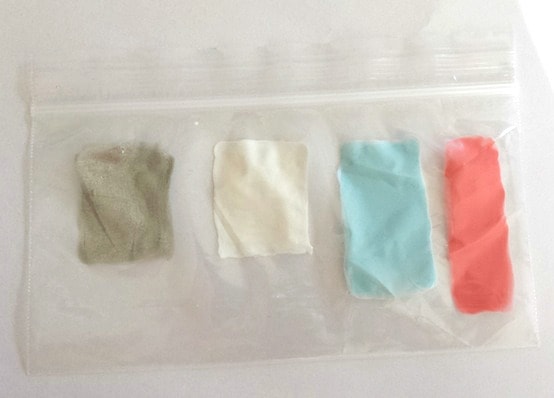
Step 2:
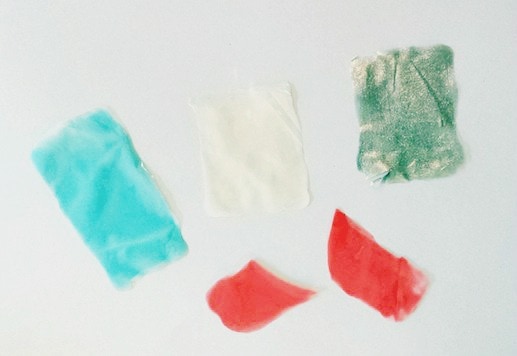
Once it's dry, use Tweezers to peel off the polish carefully – now you have sheets of nail polish you can work with. Take your time and be careful! As you can see, I wasn't very careful with the color on the bottom, and split it in half. Oops!
Step 3:
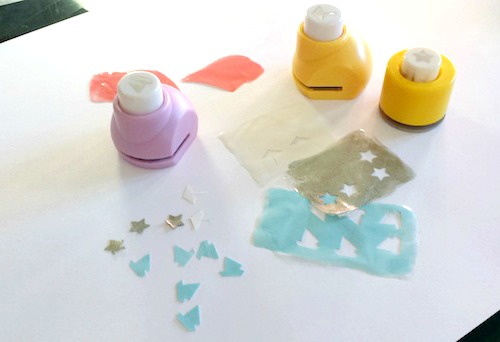
To make the stickers, simply use your hole punches to make shapes you can place on your nail. With the decorative scissors, you can make different patterns to go on your nail, as seen below.
Step 4:
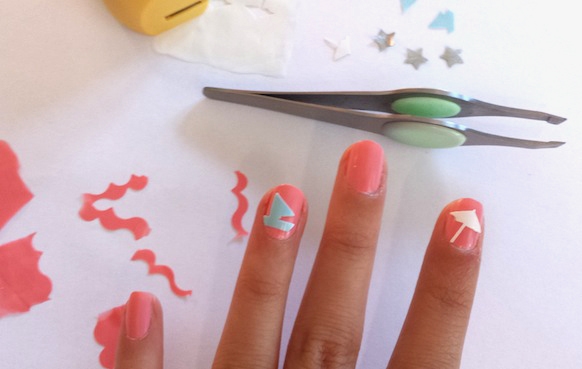
To apply your stickers, just place on your nail, rubbing it down with your fingers, and seal with a top coat. If you have a harder time getting the sticker on, just put some clear nail polish or a layer of top coat on before applying the sticker, which will act as a "glue".
The Finished Look:
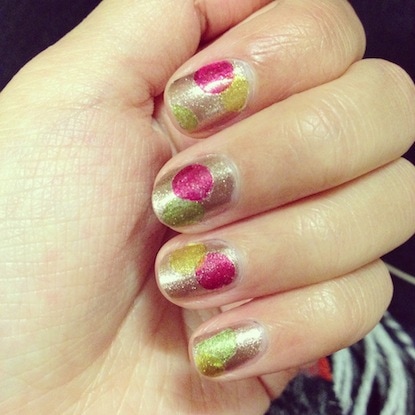
I thought it'd be fun to replicate this Beauty Department tutorial from awhile ago, keeping with the theme of hole punches, and it turned out great. Removal was a bit more difficult with the tissue paper, so I'd probably suggest trying it with nail polish stickers next time.
You can always experiment with this technique, by using your free-handing skills or any craft supplies you may have lying around!
Will you be trying this method for nail art?
Any questions, comments or suggestions are always welcome! Post them down below with nail art ideas you'd want me to cover as well!
How To Create Your Own Nail Stickers
Source: https://www.collegefashion.net/beauty-and-hair/diy-nail-decals/
Posted by: torresthereenewhe.blogspot.com
0 Response to "How To Create Your Own Nail Stickers"
Post a Comment